Summer is, like, a really special time of year, isn't it? The sun feels warm, days stretch out longer, and we all start thinking about spending time outdoors. This means, you know, slipping into open shoes, sandals, or just going barefoot at the beach. And when your feet are out and about, you probably want them to look their very best, right? That's where toe nail art summer ideas come into play, making your feet feel ready for anything the season throws your way.
Getting your toes ready for summer is, in a way, a fun little ritual. It’s about more than just painting your nails; it’s about expressing your personality and feeling good from head to, well, toe. A little bit of color or a neat design on your nails can really make a difference, giving you a boost of confidence with every step you take. So, it's almost like a tiny canvas right there on your feet, waiting for some creative flair.
This article will help you get those toes looking amazing for the warmer months. We'll look at popular designs, talk about getting your toes ready, and share some easy tips for doing your own art at home. We will also, you know, discuss keeping your feet happy and healthy all season long. So, let’s get those toes shining!
Table of Contents
- Why Toe Nail Art Shines in Summer
- Popular Toe Nail Art Trends for Summer 2024
- Bright and Bold Colors
- Delicate Floral Designs
- Fun Geometric Patterns
- Sparkling Glitter Accents
- Ocean-Inspired Looks
- Preparing Your Toes for Art: A Healthy Base
- Understanding Your Toes
- Basic Pedicure Steps
- Tips for DIY Toe Nail Art at Home
- Tools You Might Need
- Simple Techniques to Try
- Making Your Art Last
- Caring for Your Toes All Summer Long
- Frequently Asked Questions About Toe Nail Art
- Conclusion
Why Toe Nail Art Shines in Summer
Summer is, like, the perfect time to show off your feet. You're probably wearing open-toed shoes a lot, or maybe you're just enjoying the feeling of sand between your toes at the beach. Toe nail art, you know, adds a really nice touch to your summer outfits. It's a small detail that can make a big impact on your overall look.
Think about it: a splash of color on your toes can complement your favorite sundress or your new swimsuit. It’s a simple way to feel more put-together and stylish, even on the most casual days. Plus, there’s just something about having pretty toes that, you know, makes you feel a bit happier and more ready for fun. It’s a little act of self-care that pays off in smiles.
Having your toes painted also feels very summery. It’s a sign that you’re ready for vacations, pool parties, and warm evenings out. This little bit of personal style can, in a way, boost your confidence. You might find yourself wanting to wear those cute sandals more often, just to show off your lovely toe nail art summer style. It’s a very visual way to express your summer mood, too.
Popular Toe Nail Art Trends for Summer 2024
Every summer brings new styles, and this year is no different. When it comes to toe nail art summer looks, there are some really fun trends happening. These ideas are pretty easy to try, and they can make your toes look quite fresh and current. So, let’s explore some of the most popular designs you might want to try out for yourself.
Bright and Bold Colors
Nothing says summer quite like bright, bold colors on your toes. Think of shades that pop, like electric blues, sunny yellows, or fiery oranges. These colors, you know, just feel happy and energetic. They remind you of clear skies and warm sunshine, which is always a good thing. You could try a vibrant pink or a really deep coral for a classic summer vibe, too.
Using these bright colors is a simple way to make a statement. You don’t even need a complicated design; just a solid coat of a bold color can look amazing. Some people, you know, like to paint each toe a different bright color, creating a fun rainbow effect. This is a pretty playful approach that really captures the spirit of the season. It’s very eye-catching, that’s for sure.
You might also consider mixing a bright shade with a more subtle one, like a neon green on your big toe and a softer lime on the others. This creates a bit of contrast, which is, like, visually interesting. These bright colors are often quite easy to find in most polish collections. So, you can pick your favorites and get started pretty quickly.
Delicate Floral Designs
Floral patterns are, you know, always a favorite for summer. They bring a touch of nature and sweetness to your toes. You can go for tiny daisies, pretty hibiscus flowers, or even small, abstract blooms. These designs often look best on your big toe, which offers a bit more space for detail. The smaller toes can then have a matching solid color, or maybe just a tiny dot in the flower's center color.
Creating delicate flowers can seem tricky, but it’s often simpler than you think. You can use a small dotting tool or a very thin brush to make the petals. A few small dots arranged in a circle can, like, easily become a daisy. This is a very pretty and feminine look that fits perfectly with the gentle feel of summer evenings. You might try white flowers on a pastel background, for instance.
Another idea is to just do one or two small flowers on your big toe, leaving the rest of your nails a solid, coordinating color. This creates a bit of an accent, which is, you know, quite elegant. You can use different shades of green for leaves, making the flowers look even more realistic. It’s a way to bring a little bit of the garden right to your feet, too.
Fun Geometric Patterns
Geometric patterns offer a modern and clean look for your toe nail art summer style. Think stripes, dots, chevrons, or even abstract shapes. These designs can be surprisingly easy to create, especially with the right tools. They give your toes a really chic and put-together appearance. So, if you like something a bit more structured, this might be for you.
Dots are, like, one of the simplest geometric designs to try. You can use a dotting tool or even the end of a bobby pin to make perfect little circles. Try different sized dots, or arrange them in a pattern, such as polka dots or a line of graduating sizes. This is a very versatile design that, you know, can be both playful and sophisticated depending on the colors you pick.
Stripes are another popular choice. You can use nail art tape to get crisp, straight lines, or a thin brush for a more freehand look. Horizontal, vertical, or diagonal stripes can all look great. You might try a few thin stripes on your big toe, or a single bold stripe across all your toes. This can, you know, add a really sharp and clean edge to your pedicure. It’s a bit like creating tiny works of modern art.
Sparkling Glitter Accents
Who doesn't love a bit of sparkle in the summer? Glitter accents can add a touch of glamour and fun to your toe nail art. You can go for a full glitter coat on one toe as an accent, or just sprinkle a little bit of glitter polish over a solid color. This is a very festive look that catches the light beautifully, especially when the sun is shining, you know.
A popular way to use glitter is to paint your big toe entirely with a glitter polish, while the other toes have a coordinating solid color. This creates a focal point, which is, like, quite striking. You could also try a glitter gradient, where the glitter is heavier at the tip of the nail and fades towards the cuticle. This gives a very pretty, subtle shimmer.
Glitter comes in so many different colors and sizes, too. You can choose fine glitter for a delicate shimmer, or chunkier glitter for a more dramatic effect. A clear top coat with iridescent glitter can be layered over any color, giving it a new dimension. So, if you want your toes to literally sparkle in the summer sun, glitter is definitely the way to go. It’s a pretty simple way to add some pizzazz.
Ocean-Inspired Looks
For those who love the beach and the sea, ocean-inspired toe nail art summer designs are perfect. Think of colors like deep blues, aqua greens, sandy beiges, and pearly whites. You can create designs that mimic waves, seashells, or even mermaid scales. These looks really capture the feeling of a seaside getaway, which is, you know, always a good vibe.
Wave designs are often done by painting a light blue base, then adding white wavy lines on top. You can use a thin brush to create the look of crashing waves. This gives a very refreshing and calming feel to your toes. Some people, you know, even add a touch of glitter to represent shimmering water. It’s a very popular choice for beach vacations, naturally.
Seashell or mermaid scale patterns can be a bit more detailed, but they look amazing. You can use a stamping plate for easy application, or try freehand painting. Adding small pearl-like embellishments can also enhance the ocean theme. So, if you’re dreaming of the ocean, why not bring a bit of it to your toes? It’s a very pretty and thematic way to style your nails.
Preparing Your Toes for Art: A Healthy Base
Before you start adding all that lovely toe nail art, it’s really important to get your toes ready. A good base makes all the difference, helping your designs look better and last longer. You know, healthy toes are happy toes, and they make the best canvas for your summer nail art. So, let’s talk about giving them a little love first.
Understanding Your Toes
You know, your toes are pretty amazing. Each foot, you see, normally has five of them. They really help you keep your balance and move around, which is, like, super important for all your summer activities. And, you know, each one has these small bones, called phalanges, that are kind of like the bones in your fingers, just a little shorter. The big toe, also known as the hallux, is digit number one, and it's often the largest, which makes it a great spot for detailed designs. So, when you think about toe nail art, you're working on these neat little structures.
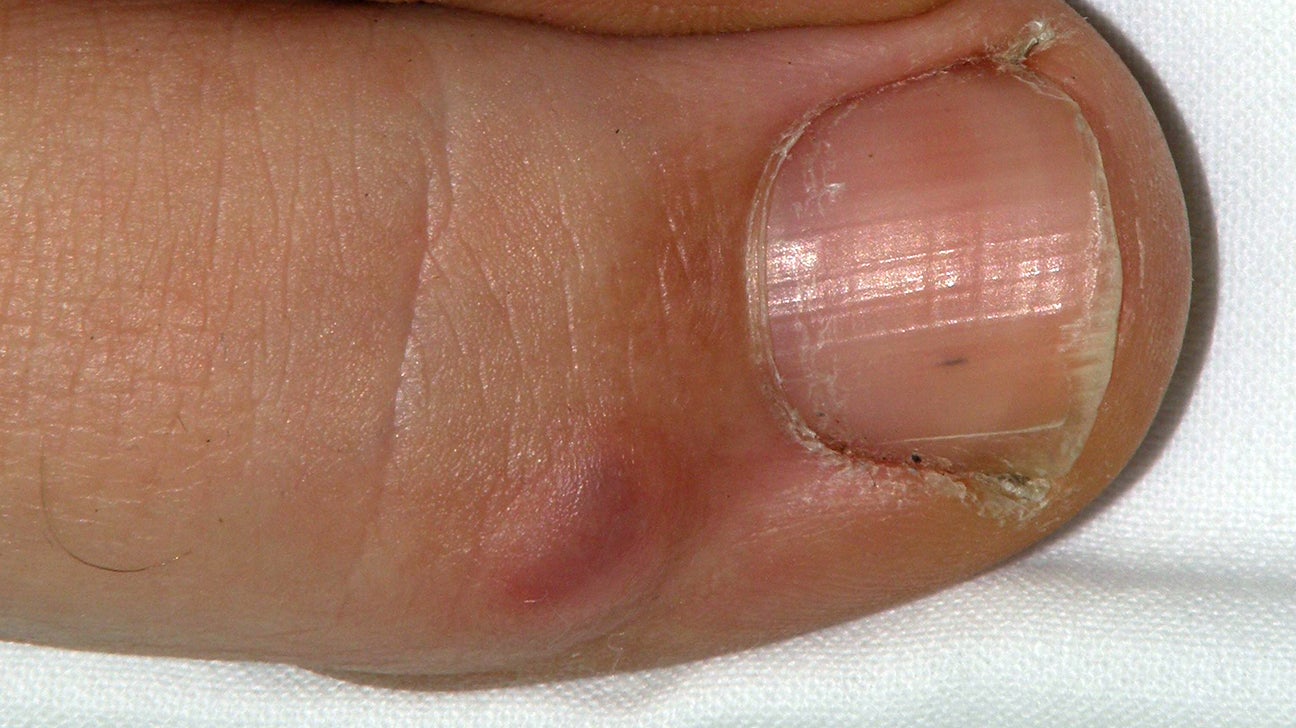
Sometimes, you know, if one or more of your toes are a bit crooked or curled under, like what we call hammer or mallet toes, it might make some designs tricky. It's always a good idea to keep an eye on your toe health, you know, just like any part of your body. If you ever have toe pain, like from arthritis or something else, or if your toes seem off, it's really smart to check with a doctor. They can help figure out what's going on, you know, and make sure your feet are feeling good. Healthy toes mean a better foundation for your beautiful toe nail art summer looks, too.
The toes are, in a way, the terminal members of your foot. They are numbered one to five, with the big toe being the first. These little digits are, you know, essential for maintaining your balance and providing support as you walk. So, taking good care of them is not just about looks; it's about overall foot comfort and function. A clean, well-cared-for toe, you know, just looks better with polish on it.
Basic Pedicure Steps
Getting a good pedicure at home is, like, the first step to great toe nail art. First, you want to make sure your nails are clean and free of old polish. Use a non-acetone remover if you can, as it's a bit gentler. Then, soak your feet in warm, soapy water for a few minutes. This helps soften your skin and cuticles, which is, you know, very helpful.
After soaking, gently push back your cuticles with an orange stick. Don't cut them, as that can cause problems. Next, trim your nails straight across to prevent ingrown nails. Then, you know, gently file them into your desired shape. A slightly rounded square is often a good choice for toes, as it's pretty strong and less likely to snag. So, take your time with this part.
Finally, gently buff the surface of your nails to create a smooth canvas for your polish. This helps the polish stick better and look more even. Make sure your nails are completely dry before applying any polish. Any moisture can, like, make your polish chip faster. So, take a moment to let them air dry fully, or use a soft towel. This prep work is, in some respects, just as important as the art itself.
Tips for DIY Toe Nail Art at Home
Doing your own toe nail art can be a lot of fun, and it saves you some money, too. With a few simple tools and a little practice, you can create really impressive designs. You don't need to be a professional artist to get great results. So, let's look at what you might need and some easy techniques to try for your toe nail art summer style.
Tools You Might Need
To get started with DIY toe nail art, you'll want some basic supplies. Of course, you’ll need a good base coat and top coat, which are, you know, essential for any manicure or pedicure. Then, pick out your favorite colored nail polishes. Having a few different shades to mix and match is always a good idea. You might want some bright colors, some pastels, and maybe a glitter polish, too.
For designs, you can use special nail art tools. Dotting tools, which have a small ball at the end, are great for making perfect dots of different sizes. Thin nail art brushes are, you know, super useful for drawing lines, flowers, or other intricate details. You can find these brushes online or at beauty supply stores. Sometimes, a regular toothpick can even work for small dots, so you don't always need fancy tools.
Other helpful items include cotton swabs for cleaning up mistakes, nail polish remover, and perhaps some nail art stickers or decals if you want a quick and easy design. A small dish for mixing colors, or, like, a piece of foil, can also be handy. So, gather your supplies before you start, and you'll be ready to create some pretty amazing toe nail art summer looks.
Simple Techniques to Try
You don't need to be an expert to create cool toe nail art. There are many simple techniques that look really impressive. For instance, dots are, like, one of the easiest designs to master. Just dip your dotting tool or toothpick into polish and gently press it onto your nail. You can make polka dots, create a line of dots, or even arrange them into a flower shape. This is a very versatile and pretty design.
Stripes are another straightforward option. For crisp lines, you can use thin strips of nail art tape. Apply your base color, let it dry completely, then place the tape where you want your lines. Paint over the tape with a contrasting color, and then, you know, carefully peel the tape off while the polish is still wet. This technique gives you really sharp edges, which is, like, very satisfying