Are you, like so many others, looking for a truly charming and eye-catching way to express your style right on your fingertips? Well, it's almost certain that cow design nails are having a moment, and for some very good reasons. This playful pattern, inspired by our farm friends, has truly captured the hearts of nail art enthusiasts all over the place. It brings a touch of rustic charm mixed with a decidedly modern flair, making it a very popular choice for anyone wanting to add a little bit of fun to their look.
You see, this trend isn't just about simple spots; it's about embracing a design that is both unique and incredibly versatile, too. From subtle accents to full-on statement nails, the cow print offers a surprising amount of creative freedom. It’s a pattern that, in a way, feels familiar yet fresh, allowing for all sorts of interpretations that can suit any mood or occasion. So, if you're curious about how to get these delightful designs or simply want to explore why they're so beloved, you've come to the right spot.
In this article, we’re going to walk you through everything you might want to know about cow design nails. We'll explore why they're such a hit, what you need to create them yourself, and even some clever ideas to make your manicure truly stand out. We’ll also share some insights into the very animals that inspire this trend, those fascinating creatures we call cows, who are, in fact, quite intelligent and social animals, having had a close relationship with humans for centuries.
Table of Contents
- Why Cow Design Nails Are a Must-Try Trend
- Getting Started: What You Need for Cow Print Nails
- Step-by-Step Guide to DIY Cow Design Nails
- Beyond the Basics: Creative Cow Nail Art Ideas
- Caring for Your Cow-Inspired Manicure
- Frequently Asked Questions About Cow Design Nails
Why Cow Design Nails Are a Must-Try Trend
This nail art style has really taken off, and it's easy to see why. Cow design nails offer a unique blend of cute and chic, making them suitable for a wide range of personal styles, you know. They can be bold and playful, or they can be surprisingly subtle and elegant, depending on how you decide to wear them. This flexibility is a big part of their charm, allowing pretty much anyone to try them out.
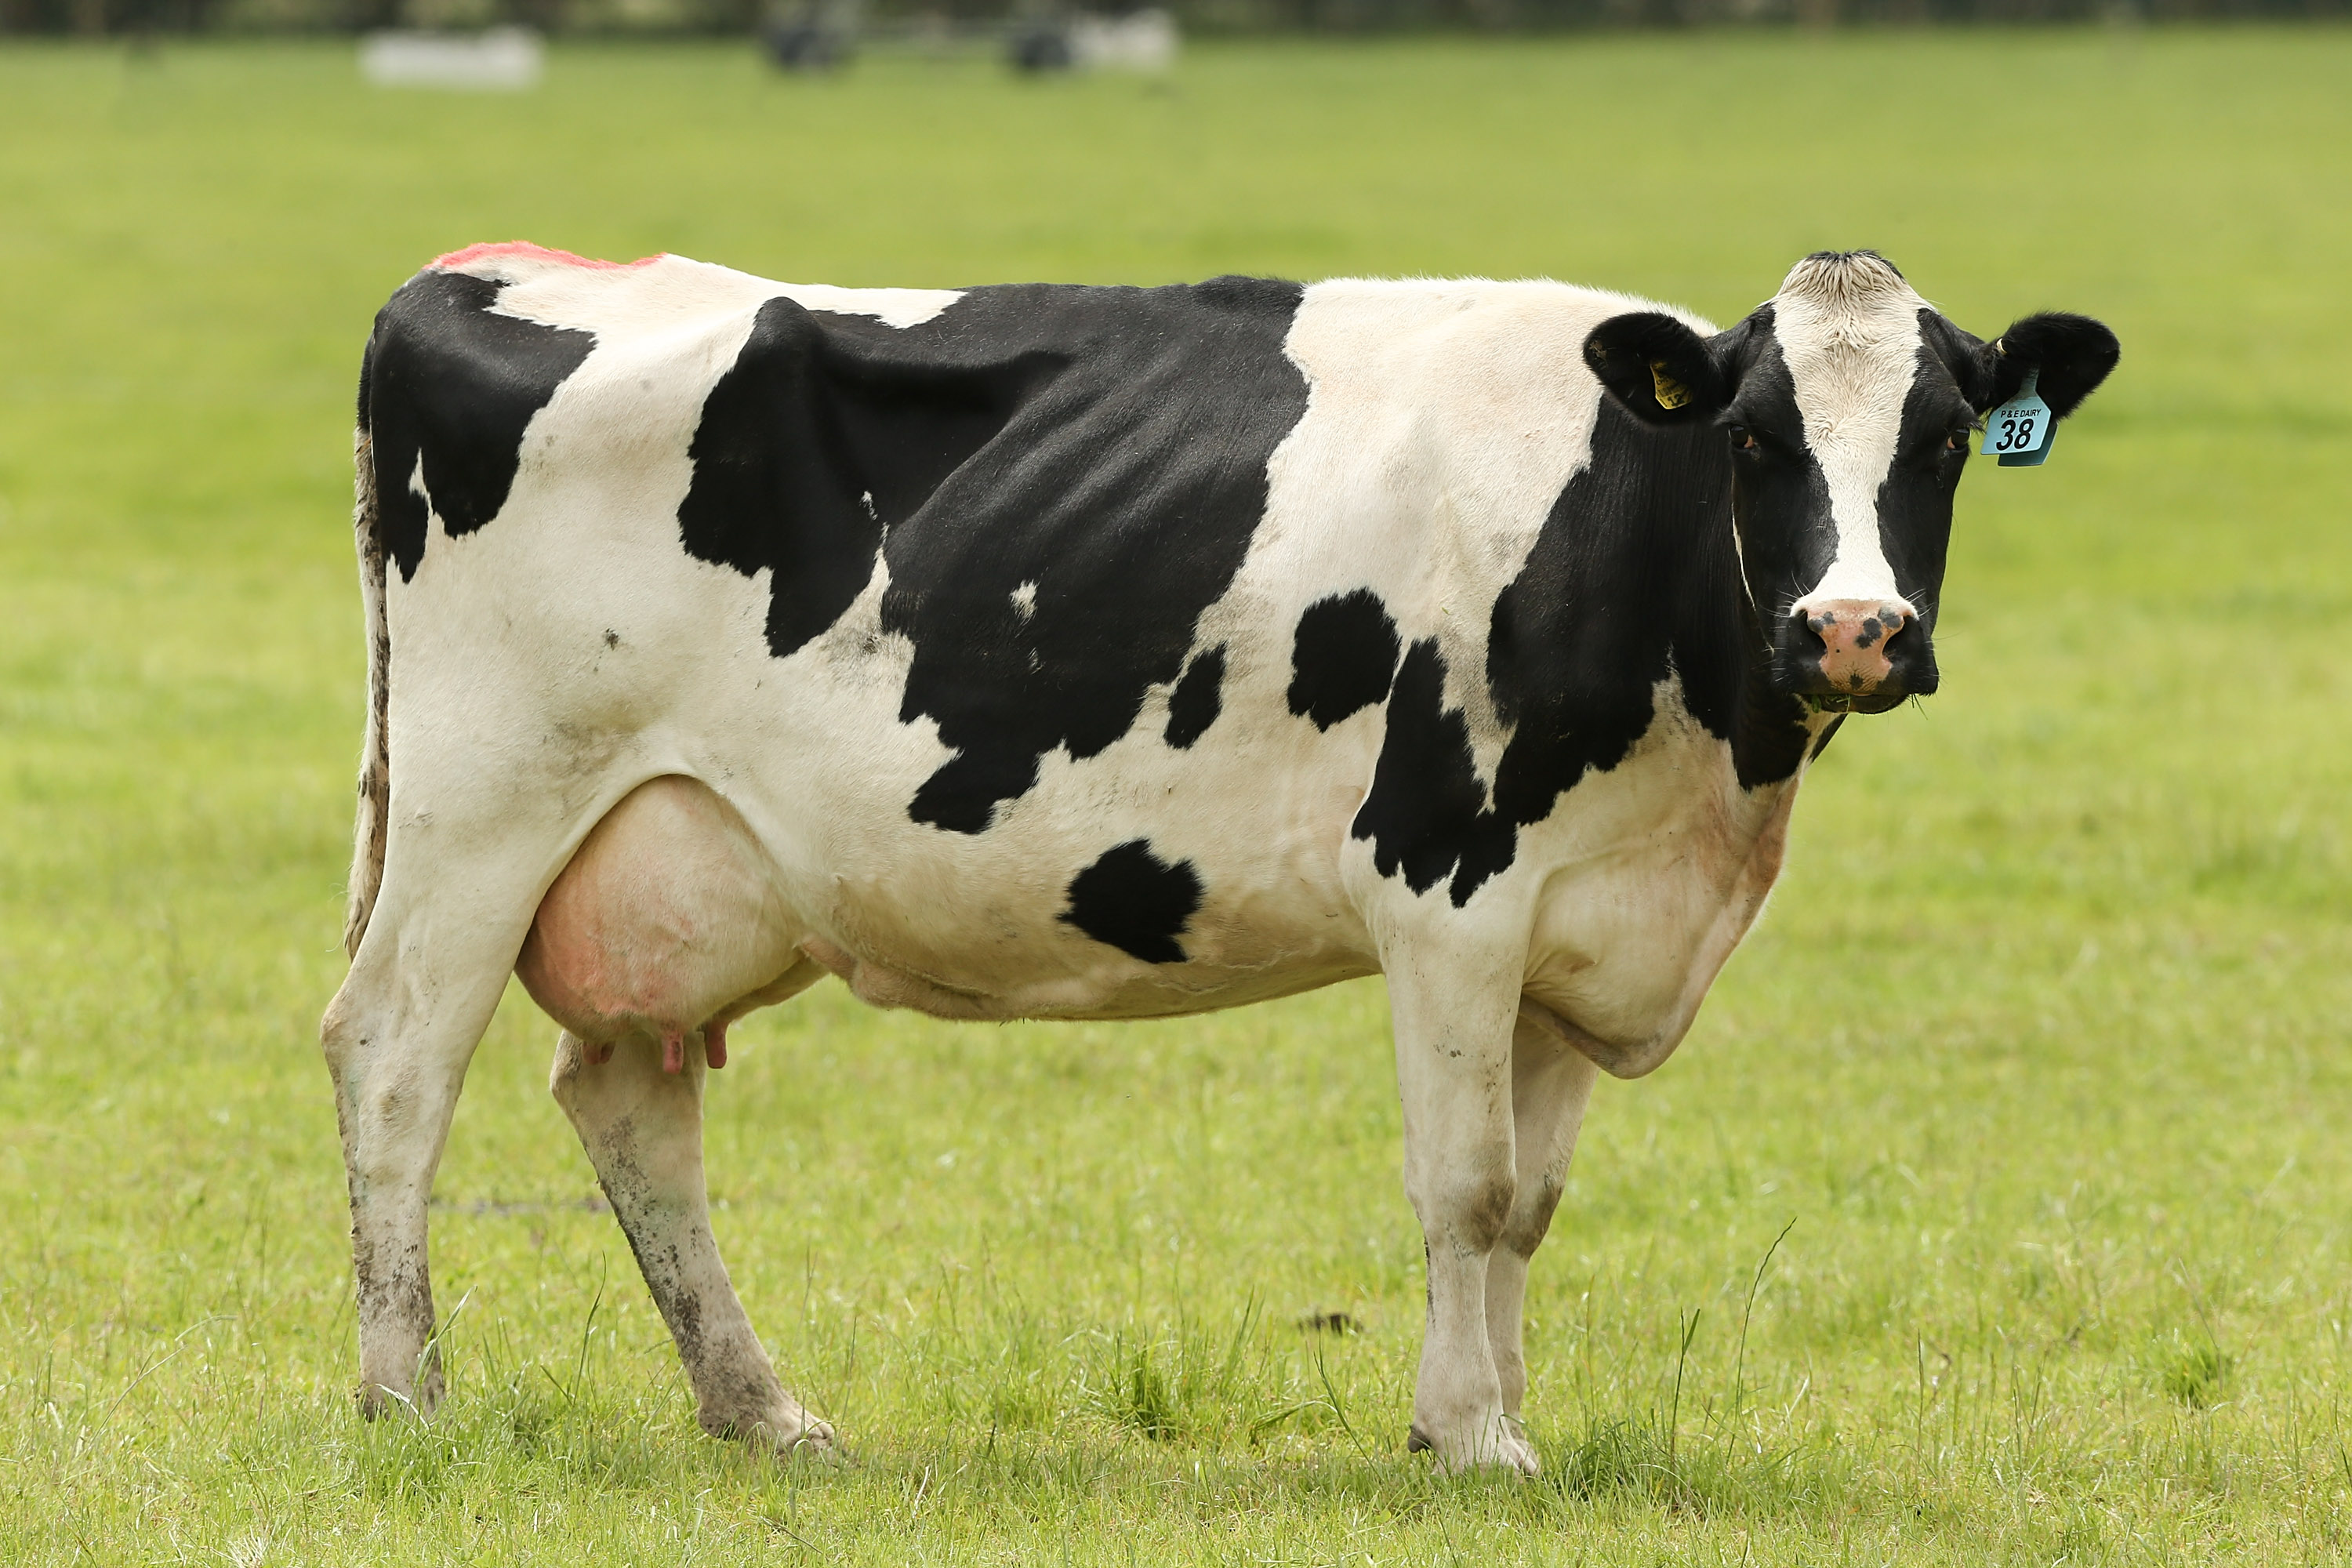
The inspiration for these designs comes from cattle, which are, in common parlance, domestic bovines, regardless of sex and age, usually of the species Bos taurus. These animals, which are large, domesticated, bovid ungulates, are widely kept as livestock, and they are, as a matter of fact, prominent modern members of the subfamily Bovinae. They are, quite literally, found all over the world, with roughly one cow for every seven humans on Earth. This widespread presence makes the cow pattern something that many people can easily recognize and relate to.
Historically, cows have been incredibly important to humans. They were domesticated over 10,000 years ago for work, and they are hooved mammals used for various human purposes, including for their milk, meat, and as draft animals. This long-standing relationship, in a way, gives the cow print a kind of timeless appeal, even as it becomes a fresh trend. So, it's not just a pretty pattern; it carries a bit of history and global connection with it.
What's more, the simplicity of the black and white spots makes it a relatively easy design to achieve, even for beginners. Yet, it also provides ample room for more experienced nail artists to get creative, perhaps adding other colors or textures. This balance of simplicity and artistic potential is definitely a key factor in its growing popularity, you know. It’s a design that feels approachable, yet offers a lot of depth for those who want to explore it further.
Getting Started: What You Need for Cow Print Nails
Before you begin creating your very own cow design nails, it's a good idea to gather all your supplies. Having everything ready beforehand makes the process much smoother and more enjoyable, actually. You won't have to stop mid-manicure to search for a missing tool or polish, which can be a bit frustrating. So, a little preparation goes a long way here.
Essential Polishes and Colors
For the classic cow print, you'll primarily need just two main colors. First, a good quality white or off-white nail polish will serve as your base color. This is what the spots will sit on, so choose one that applies smoothly and offers good coverage. A creamy white, or even a very light beige, can work wonderfully, you know.
Next, you'll need a black nail polish for creating the spots. A standard black works perfectly, but you could also experiment with a very dark brown for a slightly softer look. Just make sure both polishes are opaque enough to give a clear, crisp design. Sometimes, a single coat of a good quality polish is all you need for the base, which is nice.
Beyond these basics, you'll want a clear base coat. This helps protect your natural nails from staining and gives your polish something good to adhere to, making your manicure last longer. And, of course, a clear top coat is absolutely essential. This will seal in your design, add shine, and provide a protective layer against chips and everyday wear. A good top coat can really make your cow design nails pop, too.
Handy Tools for Perfect Spots
While you can try to freehand the spots, certain tools make the process much easier and give you more control. A dotting tool is perhaps the most useful item here. These tools have small, rounded ends of various sizes, perfect for creating those irregular, organic shapes that define cow print. You can get a set with different sized ends, which is very helpful for varied spots.
If you don't have a dotting tool, don't worry! You can improvise with things you might already have around the house. The end of a bobby pin, the tip of a toothpick, or even a dull pencil with a rounded eraser can work in a pinch. The key is to find something that can pick up a small amount of polish and transfer it onto your nail in a somewhat circular or irregular shape, you know.
For more detailed or smaller spots, a thin nail art brush can also be very helpful. These brushes allow for more precise lines and shapes, letting you refine your spots or add tiny details. Sometimes, a very fine eyeliner brush that's been thoroughly cleaned can even be repurposed for this, which is pretty clever. Having these tools ready will make your cow design nails look truly professional, more or less.
Step-by-Step Guide to DIY Cow Design Nails
Now that you have all your supplies, it's time to get creative and bring those adorable cow spots to life on your nails. This process is actually quite straightforward, but taking your time with each step will really help you achieve the best results. You want your nails to look their best, right?
Nail Preparation for a Smooth Start
First things first, make sure your nails are clean and dry. Remove any old polish, push back your cuticles gently, and file your nails to your desired shape. A clean, smooth surface is absolutely crucial for any lasting manicure, so this step is very important. You wouldn't want your beautiful cow design nails to chip quickly, would you?
Next, apply a thin layer of your base coat to each nail. This acts as a protective barrier and helps your polish adhere better, as I was saying. Let it dry completely before moving on. Patience here is a virtue, honestly. A tacky base coat can mess up your subsequent layers, so give it a good minute or two to set.
Applying Your Base Color
Once your base coat is dry, apply two thin coats of your chosen white or off-white nail polish. Thin coats are always better than one thick coat, as they dry more evenly and are less likely to bubble or smudge. Allow each coat to dry fully before applying the next, you know. This is a common mistake people make, rushing this part.
You want a completely opaque and smooth white canvas for your cow spots. This base color is basically the "hide" of your cow design nails, so make sure it looks good. If your polish is a bit sheer, you might need a third thin coat, which is fine. Just let it dry completely.
Creating the Iconic Spots
Now for the fun part: the spots! Dip your dotting tool or chosen improvisational tool into your black nail polish. Wipe off any excess polish so you don't have a huge blob. The key to natural-looking cow spots is imperfection, actually. Don't aim for perfect circles or uniform shapes.
Start by placing a few larger, irregular blobs on your nail. These should be somewhat organic in shape, perhaps with slightly jagged edges. Think of them as abstract shapes rather than perfect circles, you know. Cows, after all, have unique patterns, and there are well over 70 different breeds out there, so it's not exactly as simple as choosing one pattern.
Fill in the gaps with smaller dots and partial spots along the edges of your nail. Vary the size and placement of your spots to create a natural, random look. Some spots might even look like incomplete shapes, just peeking in from the side of your nail. This variety adds to the charm of your cow design nails, honestly.
You might want to clean your dotting tool with a little nail polish remover between nails to keep your spots crisp. Let the black spots dry completely before proceeding. This is very important to prevent smudging, obviously. A quick-dry top coat can sometimes help speed this along, if you're in a bit of a hurry.
Sealing Your Design with a Top Coat
Once your cow spots are completely dry to the touch, apply a generous layer of your clear top coat over all your nails. This step will protect your design, add a beautiful shine, and help your manicure last longer. A good top coat can also smooth out any slight imperfections in your spots, which is quite helpful.
Allow your top coat to dry fully. For best results, avoid using your hands for anything too strenuous for at least an hour or two after applying the top coat. Some people even prefer to apply their top coat before bed to ensure it has plenty of time to harden, you know. This final step is crucial for the longevity and overall look of your cow design nails.
Beyond the Basics: Creative Cow Nail Art Ideas
While the classic black and white cow print is undeniably charming, there are so many ways to put your own spin on this trend. You can really make your cow design nails unique to you, which is pretty cool. Don't feel limited to just the traditional colors; let your imagination run wild a little bit.
Playing with Different Colors
Who says cow spots have to be black? Experiment with different color combinations to match your mood or outfit. For example, a pastel pink base with white spots, or a light blue with darker blue spots, can create a softer, more whimsical look. You could even try a brown base with darker brown spots for a more natural, earthy feel, you know.
A popular variation is the "strawberry cow" look, which uses a pink base with red or darker pink spots. This is a very cute and playful take on the trend, perfect for spring or summer. The possibilities are honestly endless when you start thinking outside the traditional color box, so try it out.
Accent Nails and Subtle Touches
If an entire set of cow print nails feels a bit too much for you, consider using the design as an accent. You could paint just one or two nails with the cow print, perhaps your ring finger and thumb, and keep the rest of your nails a solid color like white, black, or even a soft nude. This offers a subtle nod to the trend, which is a nice touch.
Another idea is to incorporate cow print into a French tip manicure. Instead of a solid white tip, create cow spots along the tip of your nails. This is a very chic and unexpected twist on a classic, giving your cow design nails a sophisticated edge. You could also do just a tiny cow spot near the cuticle for a very minimalist approach, you know.
Texture and Finish Variations
The finish of your top coat can also dramatically change the look of your cow design nails. While a glossy top coat is standard and gives a lovely shine, a matte top coat can create a completely different vibe. A matte finish gives the cow print a more subdued, modern, and almost velvety appearance, which is quite stylish.
You could also add some texture with glitter or rhinestones. Imagine a few tiny, strategically placed rhinestones on some of the black spots for a bit of sparkle, or a subtle glitter top coat over the white base. These little details can elevate your cow design nails from cute to truly glamorous, more or less.
Caring for Your Cow-Inspired Manicure
Once you've perfected your cow design nails, you'll want them to last as long as possible. Proper nail care can help extend the life of your manicure and keep your nails looking fresh. A little bit of effort here can really pay off, you know.
First, always wear gloves when doing household chores, especially when cleaning with harsh chemicals or washing dishes. These activities can be very tough on your nails and can cause polish to chip or peel prematurely. Protecting your hands is a simple yet effective way to preserve your beautiful nail art.
Regularly apply cuticle oil to keep your cuticles and nails hydrated. Dry nails are more prone to breakage and chipping. A well-moisturized nail bed can also help your polish adhere better and look smoother. You can find many good cuticle oils at beauty stores or even use natural oils like jojoba or almond oil, which is pretty convenient.
If you notice any small chips, you can try to touch them up with a tiny bit of polish and then reapply a top coat to that area. This can sometimes buy you a few more days with your manicure. However, for bigger chips, it might be better to remove the polish and start fresh to maintain a neat appearance. For more general nail care tips, you might want to check out a trusted beauty resource, like this article on nail care basics.
Finally, consider applying a fresh layer of top coat every two to three days. This acts as a protective shield and can significantly extend the wear time of your cow design nails, giving them a renewed shine and extra chip resistance. It’s a small step that makes a big difference, honestly.
Frequently Asked Questions About Cow Design Nails
People often have questions when trying out new nail art trends. Here are some common queries about cow design nails, hopefully helping you feel more confident about trying them out.
Q: Are cow design nails hard to do for beginners?
A: Not at all! The beauty of cow spots is their irregular nature. You don't need to be perfect, which makes them very forgiving for those just starting out with nail art. Using a dotting tool or even a toothpick can make creating the spots quite easy, you know. It’s a great design to practice your freehand skills, actually.
Q: How long do cow print nails typically last?
A: Just like any other nail polish design, the longevity depends on your polish quality, base coat, top coat, and how well you care for your manicure. With good preparation and a quality top coat, your cow design nails can last anywhere from 5 to 7 days, or even longer if you are gentle with your hands. Regularly reapplying a top coat can help extend their life, too.
Q: Can I use gel polish for cow design nails?
A: Absolutely! Gel polish works wonderfully for cow design nails and can provide a much longer-lasting manicure, typically two to three weeks. The process is similar: apply a gel base coat, then your white gel color, followed by black gel for the spots, and finally a gel top coat. Remember to cure each layer under a UV or LED lamp, of course. For more ideas, you might want to explore other popular nail art trends using gel.
So, there you have it! Cow design nails are a truly delightful and surprisingly versatile trend that’s perfect for adding a touch of personality to your look. Whether you go for the classic black and white or experiment with vibrant colors, this pattern is sure to bring a smile to your face and those around you. It's a fun way to celebrate the charm of these amazing animals, cows, which are, as a matter of fact, among humankind's most important domesticated animals, known for their robust bodies and grazing lifestyle. Why not give them a try for your next manicure? You might just find your new favorite design!